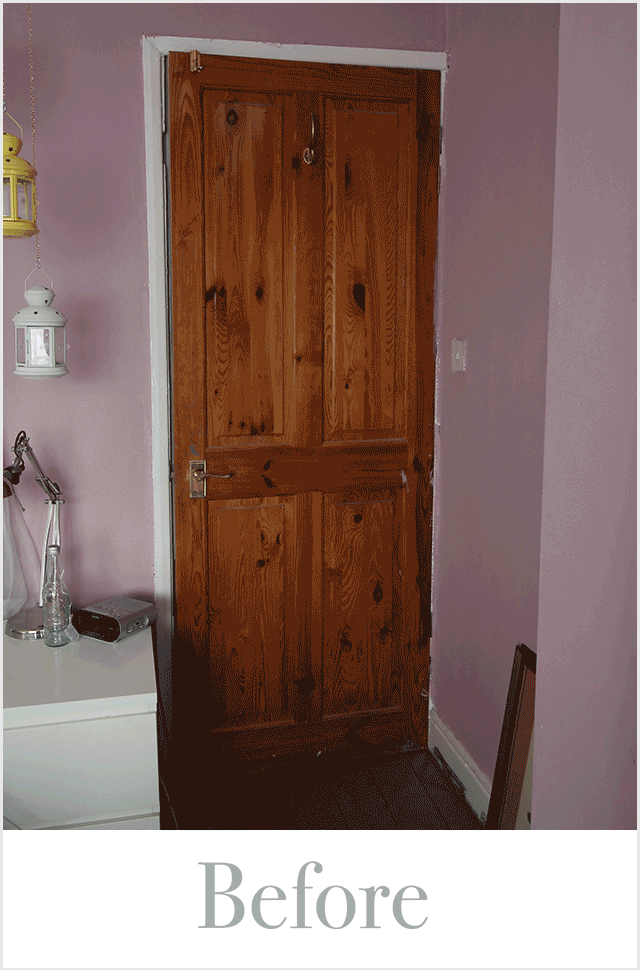
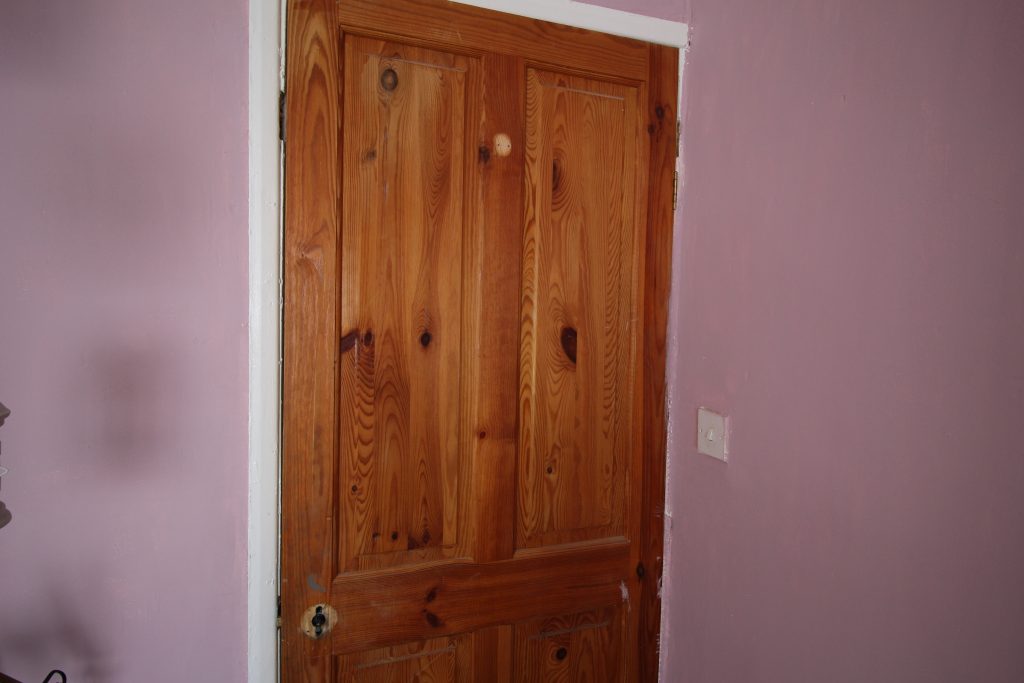
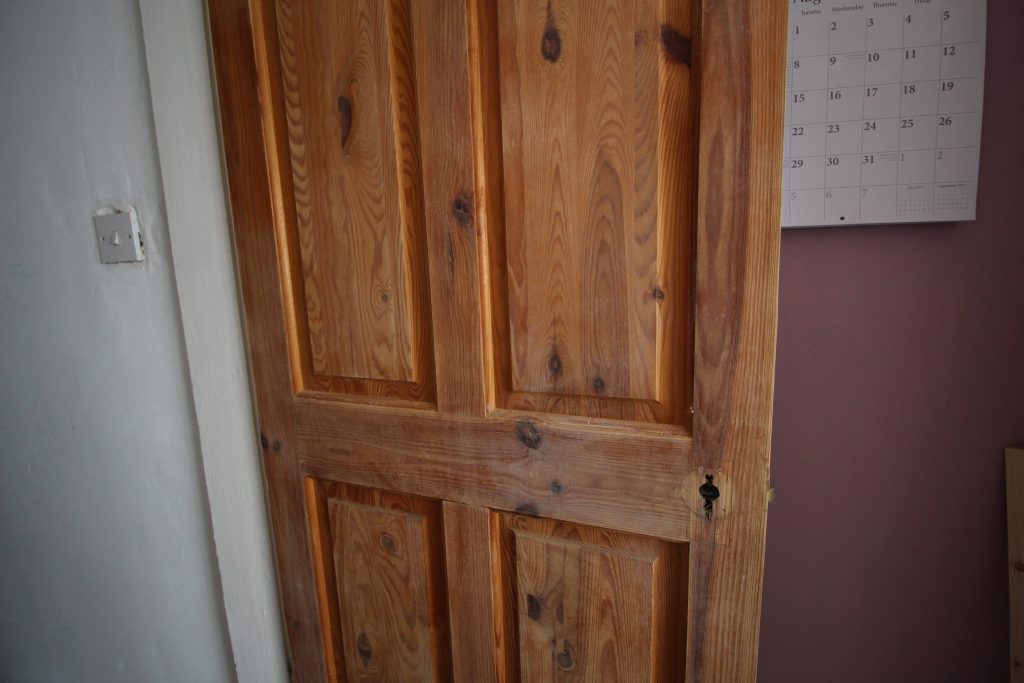
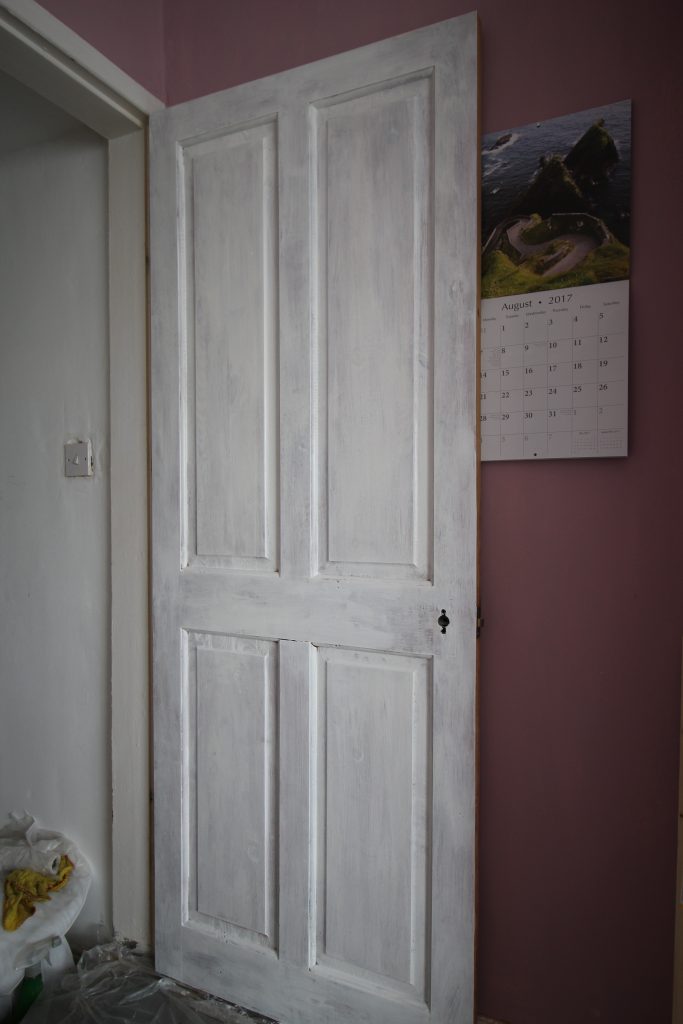
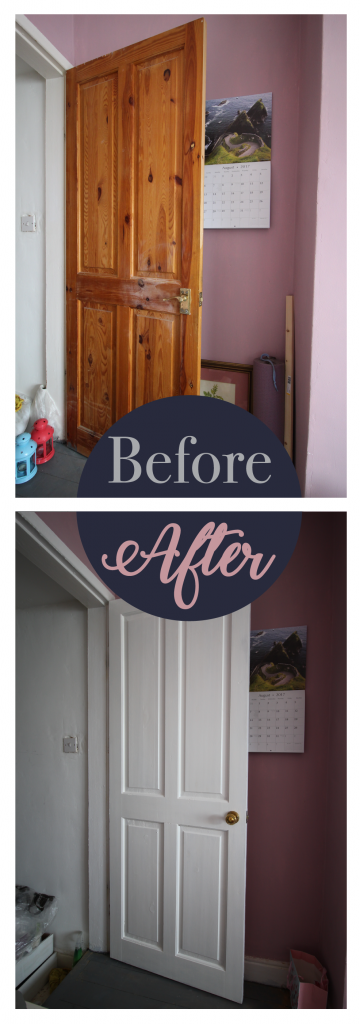
The doors in my house are crap. I mean, they’re perfectly fine structurally, mostly solid wood, but they’re all different shades of wood, each with a different cheap handle than the next.
I’ve recently started making my way around the house painting each and every one so I like to think of myself as a bit of an expert at this stage. I’ve picked up a few hints and tips along the way that should save you a lot of time and effort should you need to give some old doors a new lease of life.
Before I started, I was lucky enough to find a listing on eBay for six pairs of old brass doorknobs: the perfect number needed to give my shitty-knobbed doors a nice uniform look. They were from a house clearance and had seen better days, but all they needed was a bit of a spruce to remove the old paint and they were good to go. Check out my post on how I cleaned them up here.
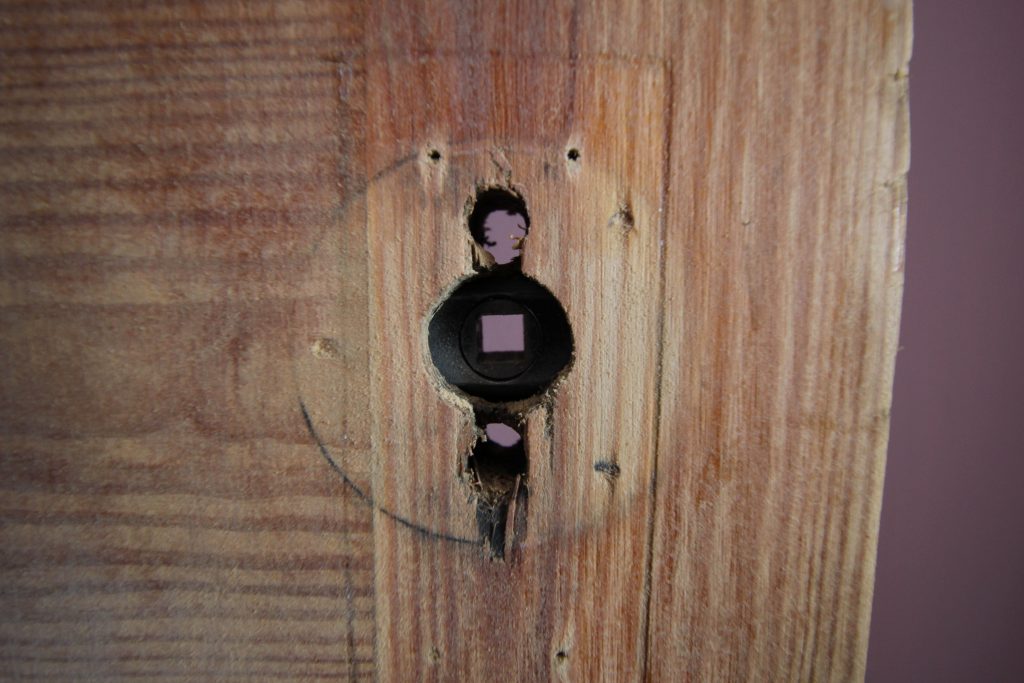
Remove all handles
When you’re painting a door, the best thing to do is remove any handles/hooks/locks/other attachments before you start. Trust me, you don’t want to be sanding/painting around them. You’ll get a much better finish if you take them off to start with.
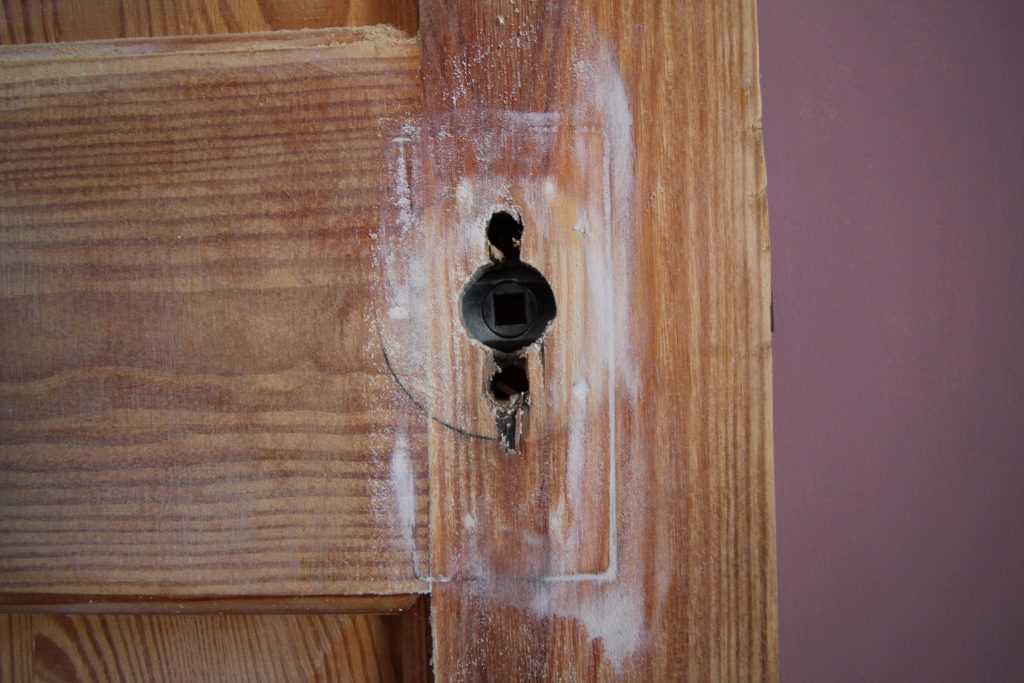
Fill any gaps or holes
The next thing to do is have a good look at your door: are there any attachments you’ve taken off that you’re not putting back on and that have left holes where they’d been screwed in? Are there any other chips or bumps? Now’s the best time to fill these in.
I used a bog-standard Homebase branded filler for this. I didn’t bother with a scraper, just used my finger to rub it into the bits that I wanted to fill. You don’t need to worry about getting a perfect finish because you’ll be sanding down the top once it’s dried.
Sand your door
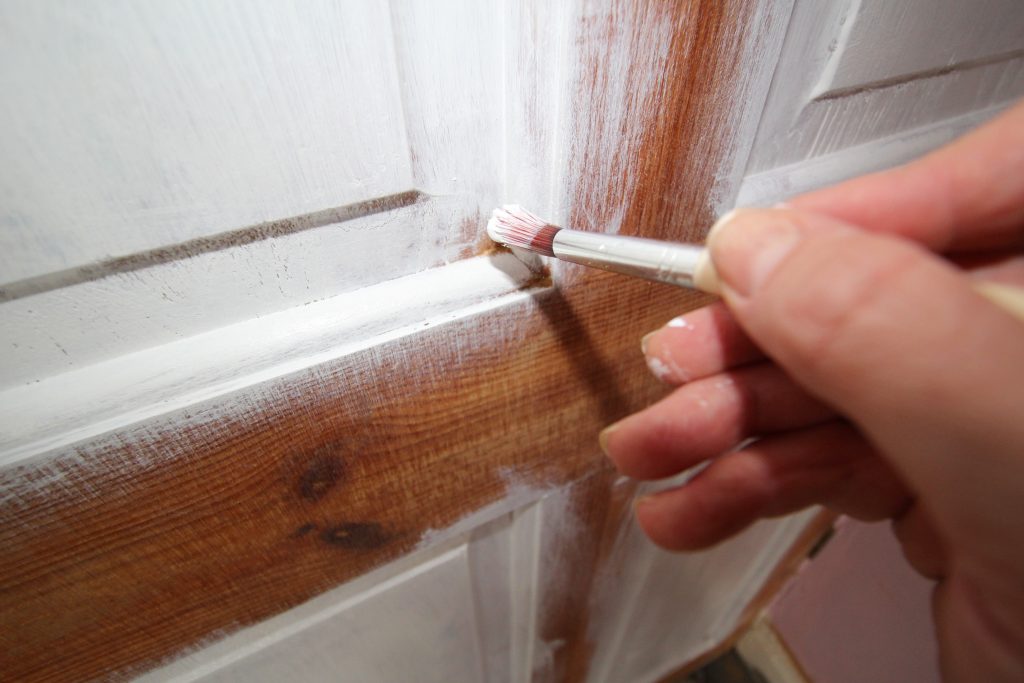
Once your filler has dried (mine didn’t take long), give your door a good sand. I used my Black and Decker Mouse with quite a coarse paper attached and worked my way around the panels in small circles. I sanded the inside raised panels first, then the outer ones. For the inverted parts where the panels meet, I used a regular sanding block because it was easier to fit in the gaps than the electric sander.
As always, after sanding, give the door a quick vacuum and then use a damp cloth to wipe down all the parts you’ve sanded. A lot of the dust will have gathered in the bottom of the panels so pay extra attention to clear the dust out of here. You may want to pop something like a screwdriver or knife behind your damp cloth to make sure you get into all the little nooks and crannies. Believe me, the last thing you want is for your paint to catch in some loose bits you didn’t wipe away and drag them along your paintwork leaving a bumpy mess. It’s tedious to sand and wipe down properly before painting but doing it right makes a huge difference.
Time to paint!
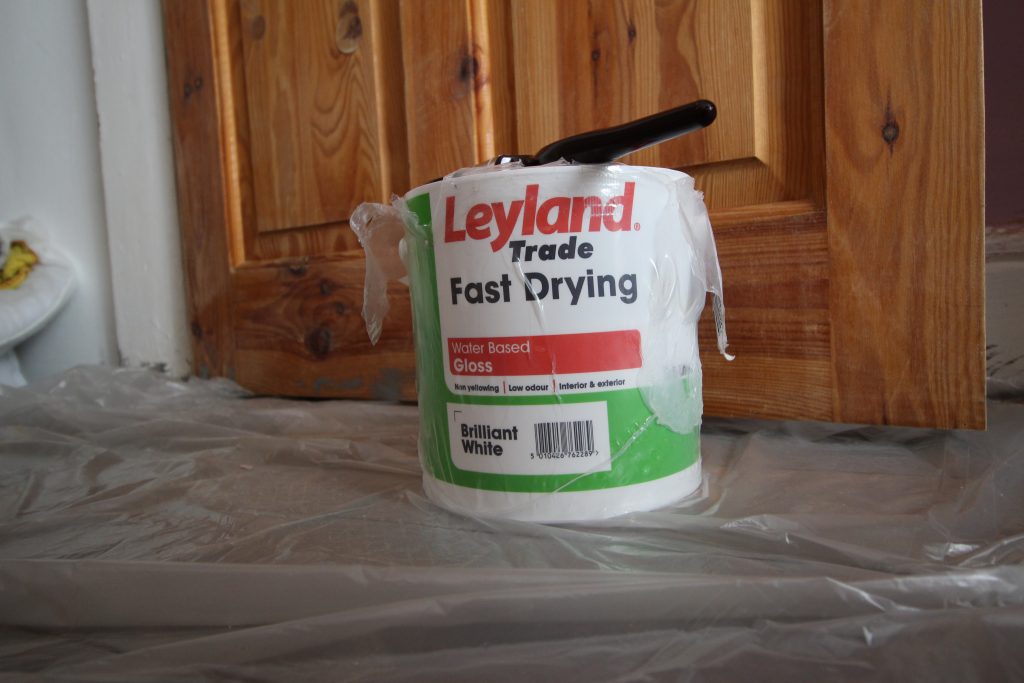
Now you’re ready to start painting (yay)! I’ve been using Leyland Fast Drying Gloss in Brilliant White, as you’ll know from other posts if you’ve been here before (if not, where have you been?!). I bought it when I first moved into the house and it’s come in handy on so many occasions. I’m using it for all the skirting boards and doors all around the house. I’ve said it before but I’ll say it again because it’s so important: use a water-based paint if you’re using white gloss. If you use an oil-based paint, over time the oil will rise to the top and discolour your paint job, leaving a yellowy mess. Save yourself the hassle by buying a water-based paint in the first place.
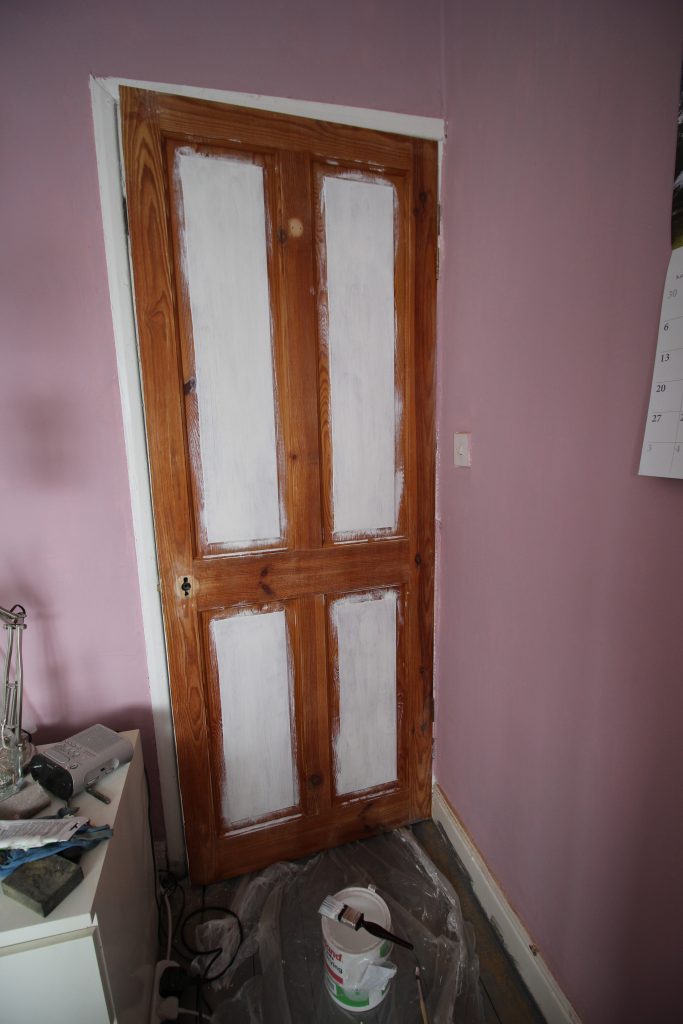
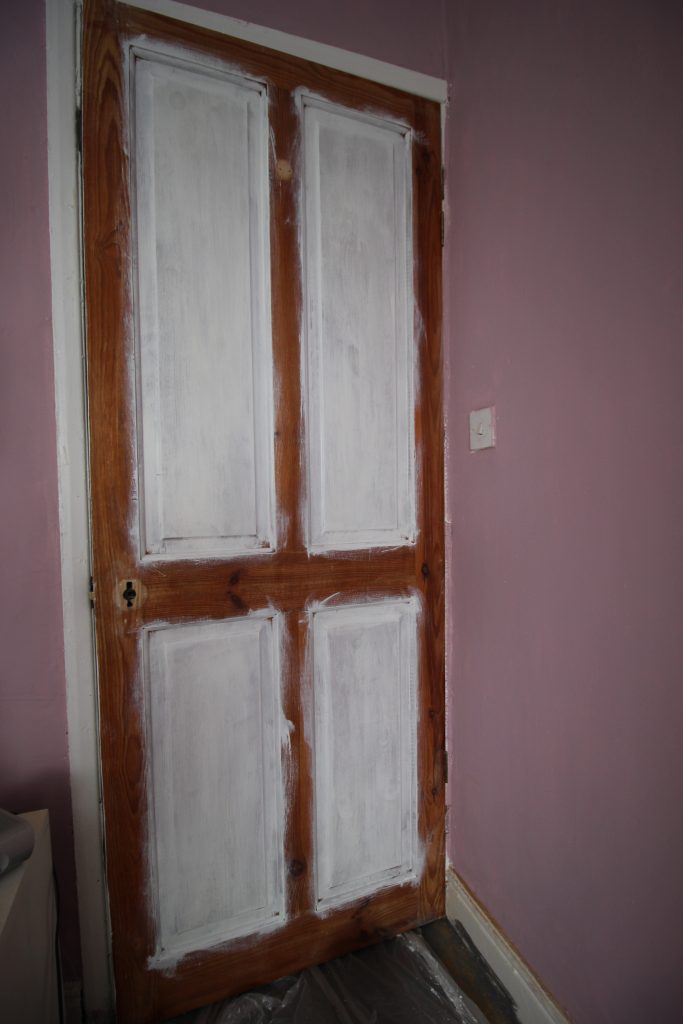
When painting a door, I found that it’s really important to use a dry-ish brush. By that I mean don’t overload it with paint. Use up and down strokes, starting at the central panels and really make sure you work the paint in well to ensure a good finish. I did the inside panels first, then the middle parts and then the outer parts of the door. I found it easiest to get into the corners by using a small crafting paintbrush.
I’ve made a handy diagram to show you the direction of the brush strokes:
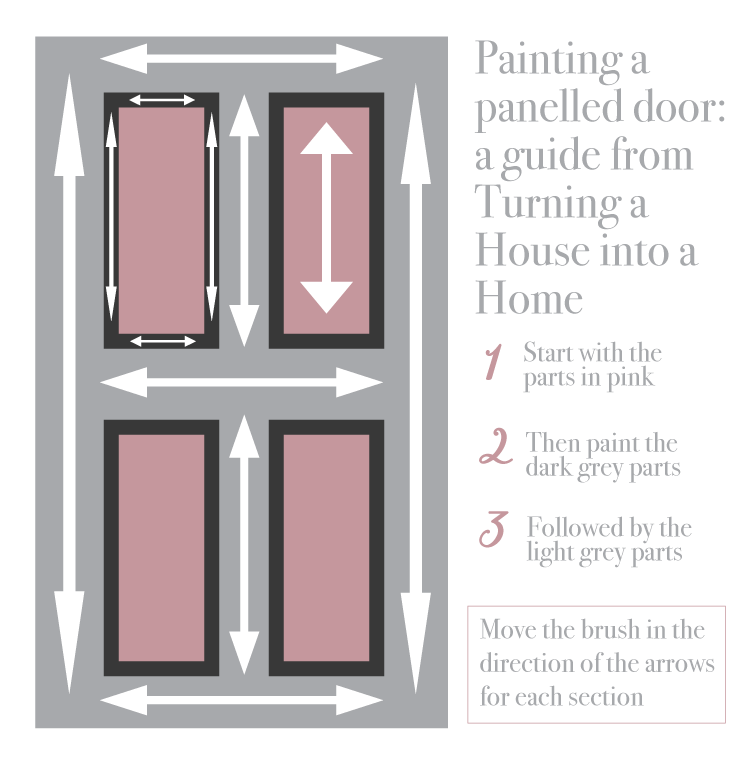
Top tip: when you paint the sides of the doors, at the edges, run the brush along the corner of the door to stop a build up of paint on any one side of it.
You’ll need to do about 4 coats to get a nice finish with great coverage so just repeat the process above until you’re happy with the finish you’ve achieved. The paint dries so quickly (and remember you’re only doing thin layers!) so you can go straight back to the start as soon as you’ve finished one coat.
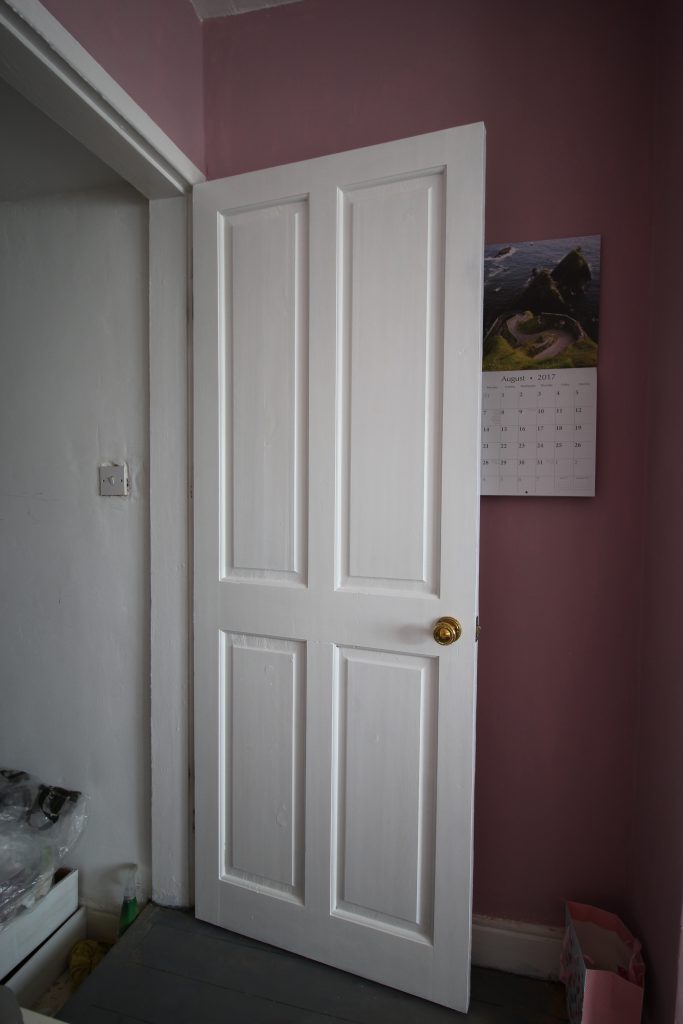
Attach your handles
Once you’ve finished painting and your door has dried, all you need to do is put your knobs/handles in place and screw them in. Then you’re done!
… Unless like me you’re doing all the doors in the house, in which case it’s one down, 7 to go.
Difficulty rating: 1/10
Cost: <£10 per door (including new knobs)
Time taken: An afternoon
[…] here to see my revamped doors after painting and fitting the […]
Well done my renovation wizard friend!! Amazing job and thanks for sharing!
Well done the house will be amazing having seen it when you moved in I thought it was an impossible task, but you proved me wrong.
Ronnie