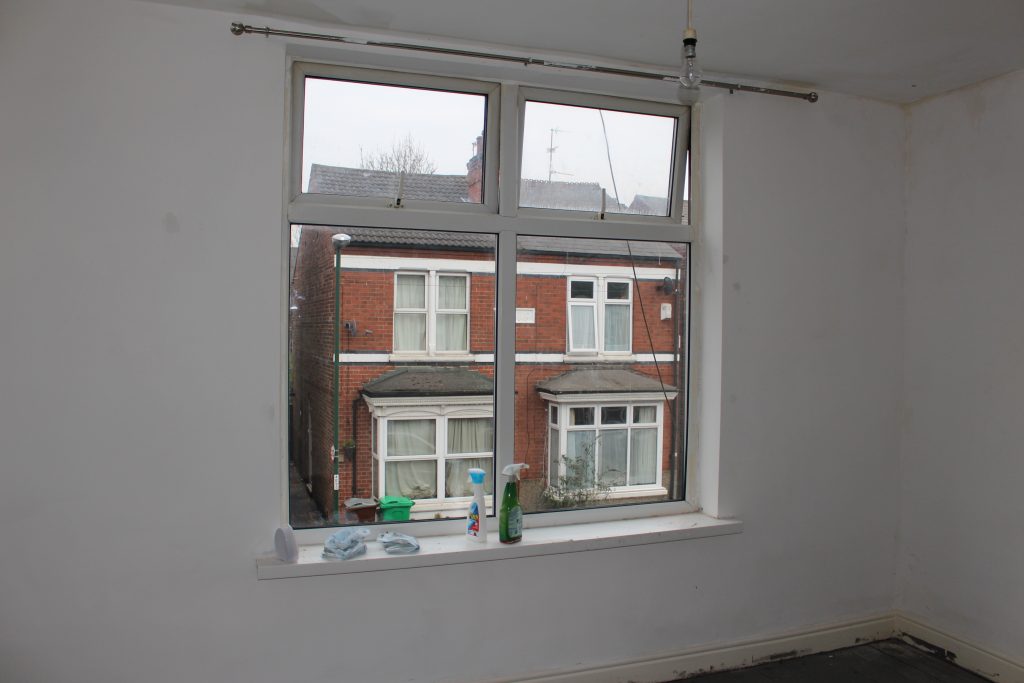
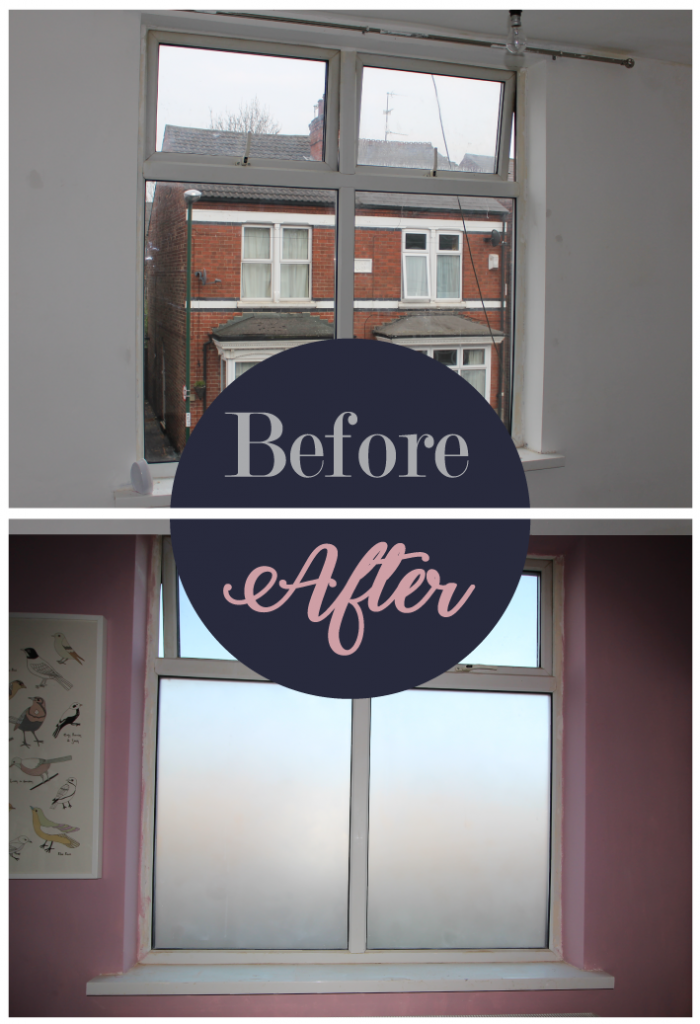
As my bedroom faces out onto the street and directly overlooks my neighbours’ houses, one of my first priorities was frosting my bedroom window. There are a few different ways that you can do this but I chose to use window frosting in a can.
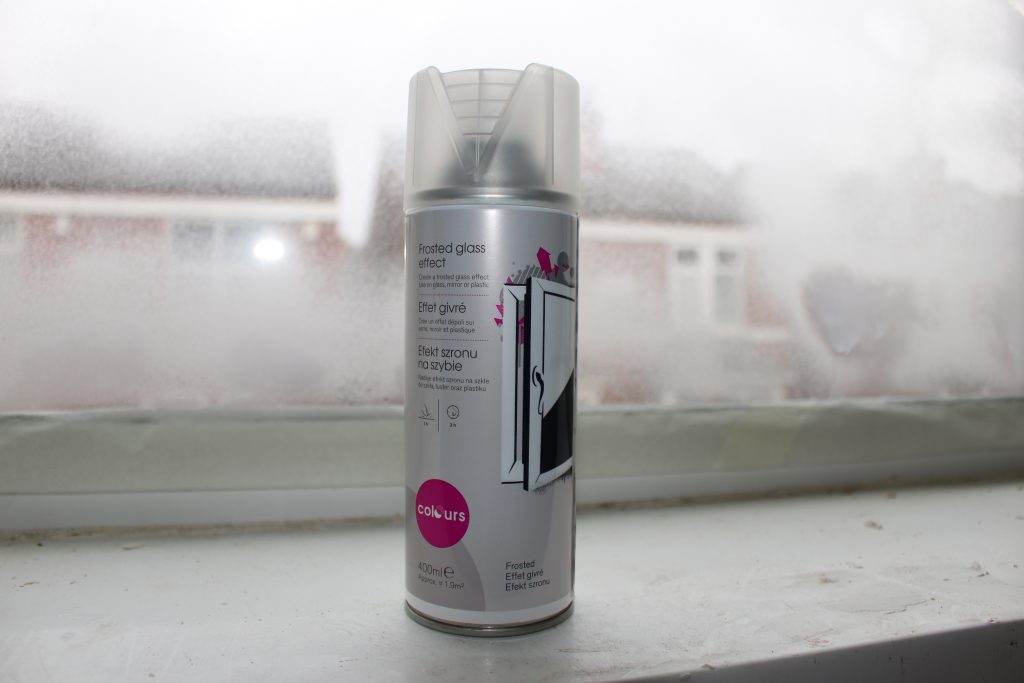
I used Colours White Frosted Spray from B&Q. A 400ml can was £6.74.
Getting started
I started out by cleaning the window. Then I used masking tape to block off the window frame. In hindsight I could have skipped this step because I used cheap pound shop masking tape which peeled off almost as soon as I put it on, so it was pretty pointless as it turned out.
Next it was time to start spraying. The first layer looked really patchy so I was a little worried, but I let it dry and did another layer.
After a second coat it was still patchy but slightly less so, so I kept going.
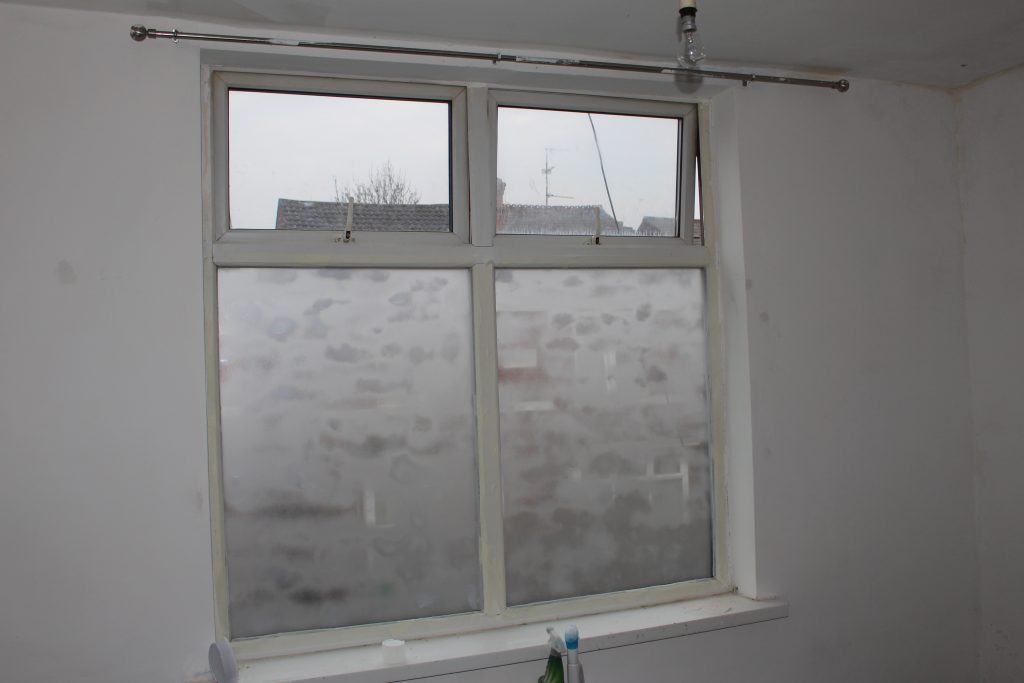
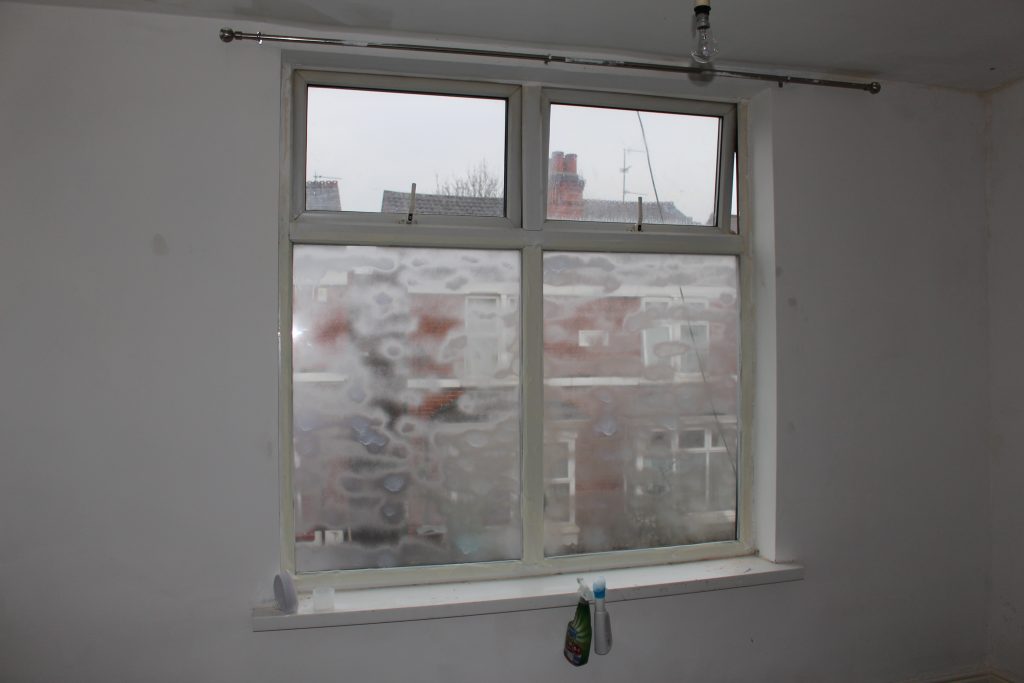
After repeating this process about 4 times, the patchiness had pretty much gone and I was left with a nice frosted window. The spray smells pretty strong and toxic so you definitely need to use a face mask when using it.
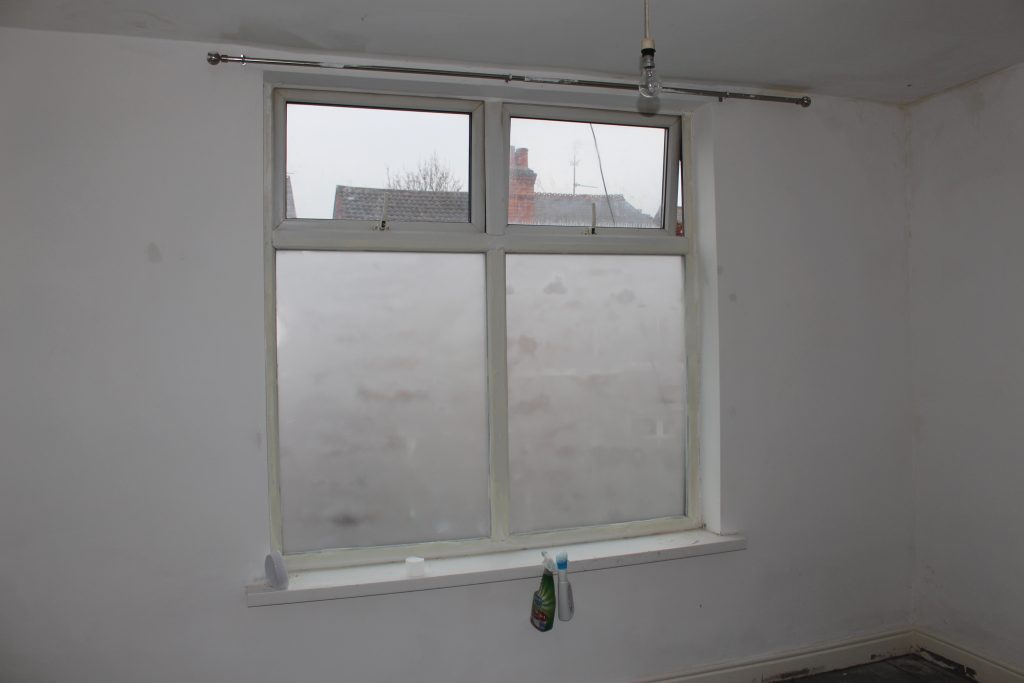
I was really happy with the frosted effect at first: it blocked the view of my bedroom from the street but still let the light in, but once it had dried it started to crack. My theory is that this happened because the house was too cold overnight when the spray was still drying. The can said to only use the spray at temperatures over 15 degrees celcius but I did it in January and the heating was off overnight as it was fully drying. I didn’t want to scrape it all off and start from scratch because I wasn’t sure that the same thing wouldn’t happen again, so once the house was a bit warmer, I went over the parts that had cracked. After a few coats these parts had been covered pretty well and it all blended into one. To complete the whole window, including the additional coats to cover the cracking, it took just over one can.
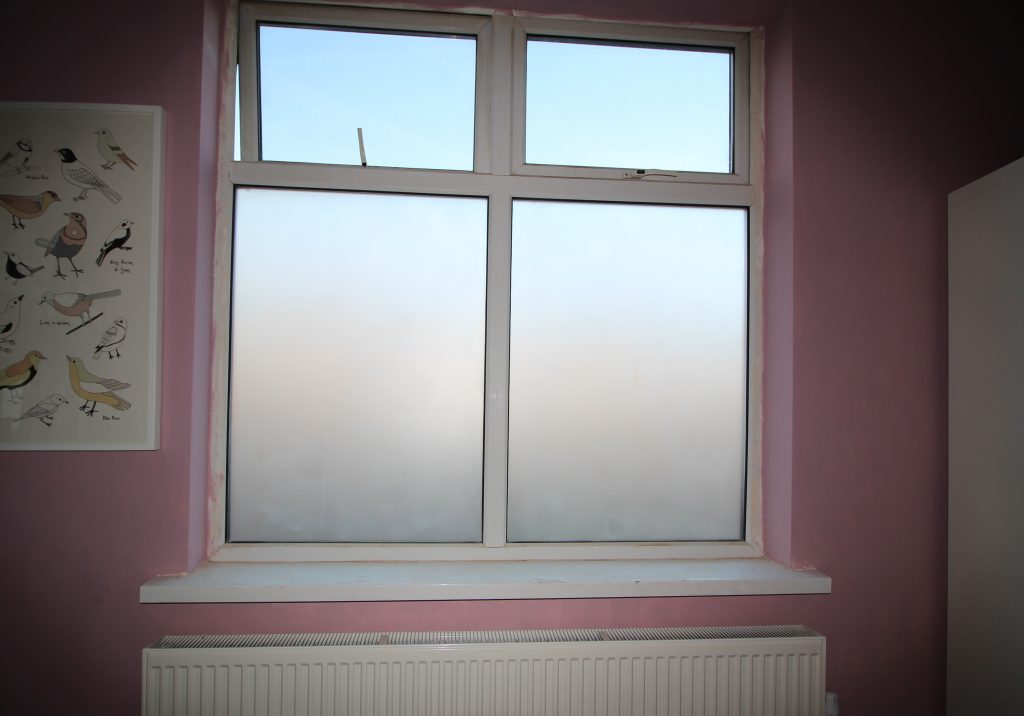
Overall, I’m happy with the effect. It gives my room a lot more privacy for little cost. It didn’t take too long to do: it only takes a few minutes to do a coat and it dries within minutes. The main things to bear in mind are the temperature of the room: make sure it’s over 15 degrees, especially whilst it’s drying. The smell is pretty strong so as well as wearing a mask whilst spraying, it’s probably best to have something else to do in another room or outside whilst it dries. It’s easy to clean and hasn’t wiped off but I’m careful not to use anything abrasive on it just in case.
Difficulty level: 1/10
Cost: <£10
[…] Then I sprayed the entire sheet of glass with frosting spray. I used the same spray and technique that I used in my earlier post How to Frost Windows. […]